
Introduction
This blog sheds light on the potency of IgniteConnex Identity, primarily focusing on its role assignment functionality. By allocating distinct roles to users, IgniteConnex Identity empowers users with corresponding capabilities. This dynamic system ensures that each user operates within well-defined parameters, aligning their actions with their designated roles. This streamlined approach not only enhances security but also bolsters efficiency, providing users with a purpose-driven experience.
With the acquired token in hand, the next step involves its decoding through jwt.io. This decoding process unveils intricate access controls embedded within the token. This also presents an opportune moment to add our own custom attributes to Identity token .
Types of Custom Attributes
Four distinct custom attributes are available:
Realm Role: This attribute pertains to roles operating at the realm level.
Client Role: Focused on a specific client, this role allows us to fine-tune access controls for individual client.
Group: With this attribute, we can organize users into groups, streamlining permissions management.
User Attribute: By evaluating user-specific attributes, we can enable a personalized approach to access management.
Realm Role
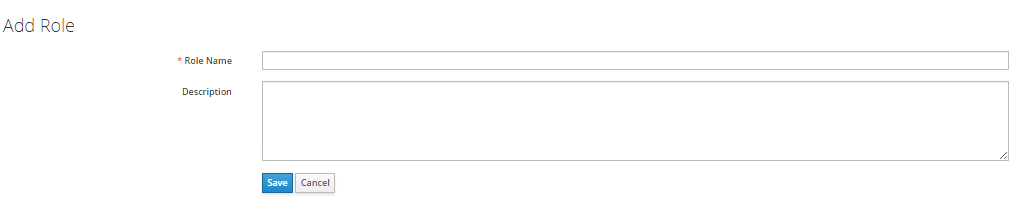
Step 1: Creating a New Realm Role

Click on "Add Role" and provide a name and description for the realm role.
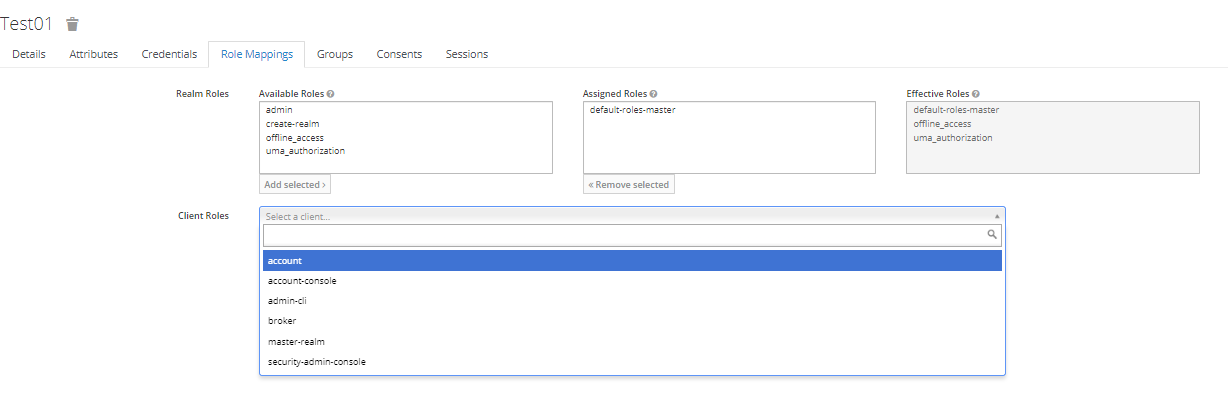
Step 2: Mapping Roles to Users
Access the "Role Mappings" tab in the Users section and assign the realm role created in the previous step.
Client Role
Step 1: Creating a New Client Role
Select the desired client, then click on the "Roles" tab. Click "Add Role" and provide a name and description for the client role.


Step 2: Mapping Roles to Users
Access the "Role Mappings" tab in the Users section and assign the client role created earlier.
Groups
Step 1: Creating a New Group
Click on "New" to create a new group. Provide a name for the group.

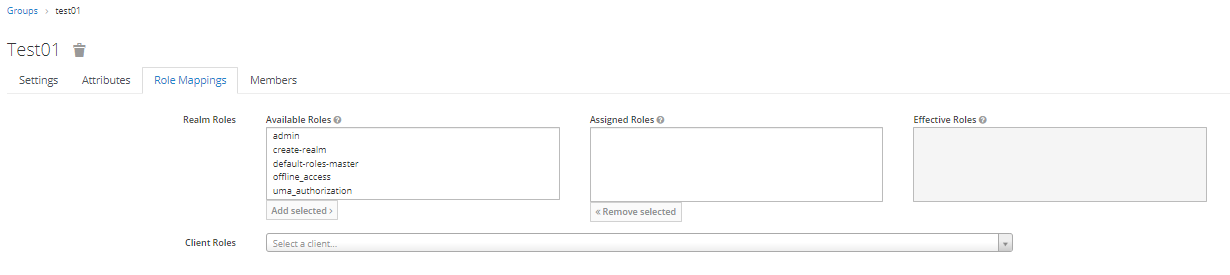
Step 2: Mapping Roles in Groups
Access the "Role Mappings" tab in the Groups section to directly assign realm roles and client roles to users. This eliminates the need for separate Role mapping addition in the Users section.
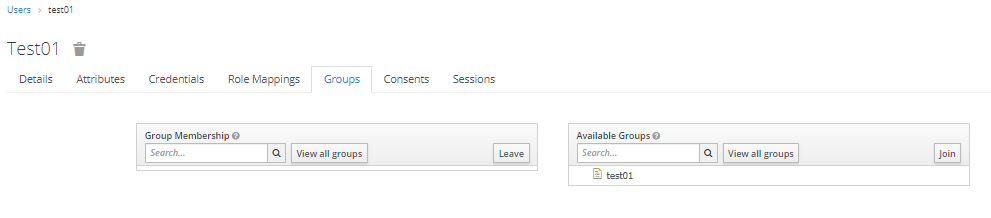
Step 3: Join Group
Access the "Groups" tab in the Users section. Click "Join" to become a member of a previously created group.
The group will not be inherently evident upon decoding the token. To facilitate its recognition, a mapper must be crafted to encapsulate the group's attributes within it.
Developing a Mapper for Group
Step 1: Select the Client Name in Clients
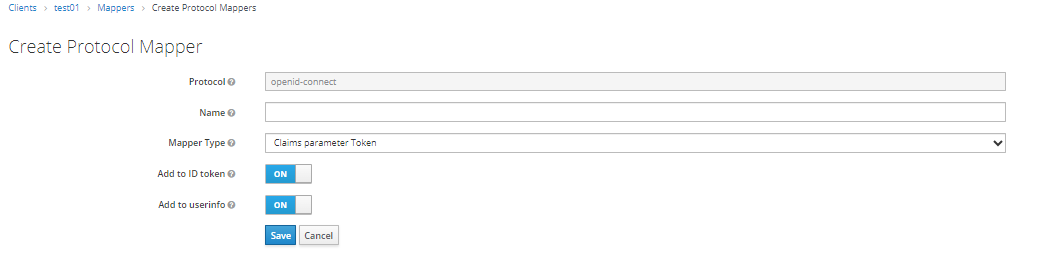
Step 2: Access Mappers Tab in Clients and Create a Mapper
Specify the Mapper Name, Token Claim Name, and Mapper Type.
Token Claim Name is the key name under which the group information should be displayed.
User Attributes
Step 1: Creating User Attributes
Access the "Attributes" tab in Users and provide the key and value for the attribute.

As an illustration, the creation of the "api_limit" attribute is delineated below:
Attribute Key: api_limit
Attribute Value: 5
This user attribute, denoted by the key "api_limit" is configured with a value of 5. It can be effortlessly incorporated into token, thereby bestowing a predetermined API access limit of 5 units
Note : Similar to group membership, user attribute details won't be directly visible in the decoded token. To add a user attribute in token , a mapper needs to be created for each user attribute. Repeat the previous steps to create a mapper for user attributes.
Conclusion
By implementing role mappings within IgniteConnex Identity, we've achieved a robust system for managing user roles. These role mappings can be verified within the decoded token, ensuring a well-structured and secure identity management system.